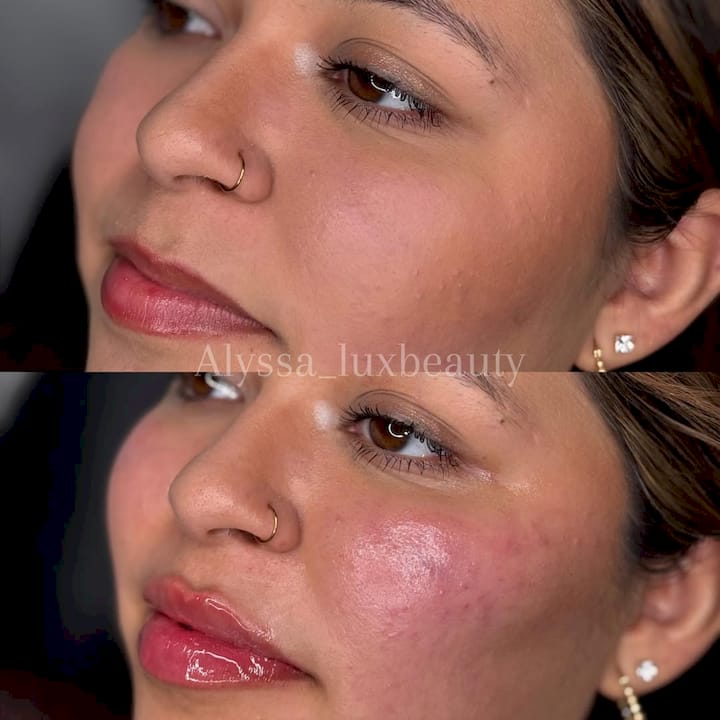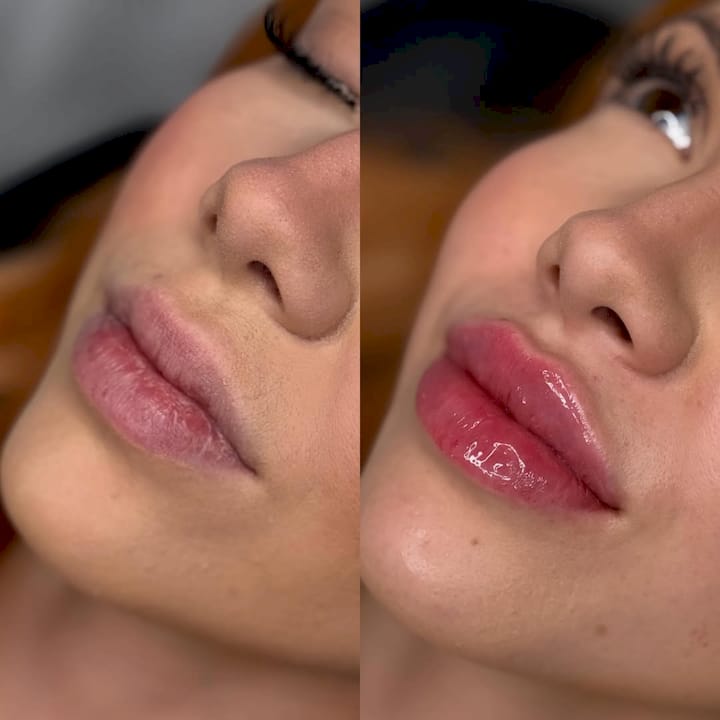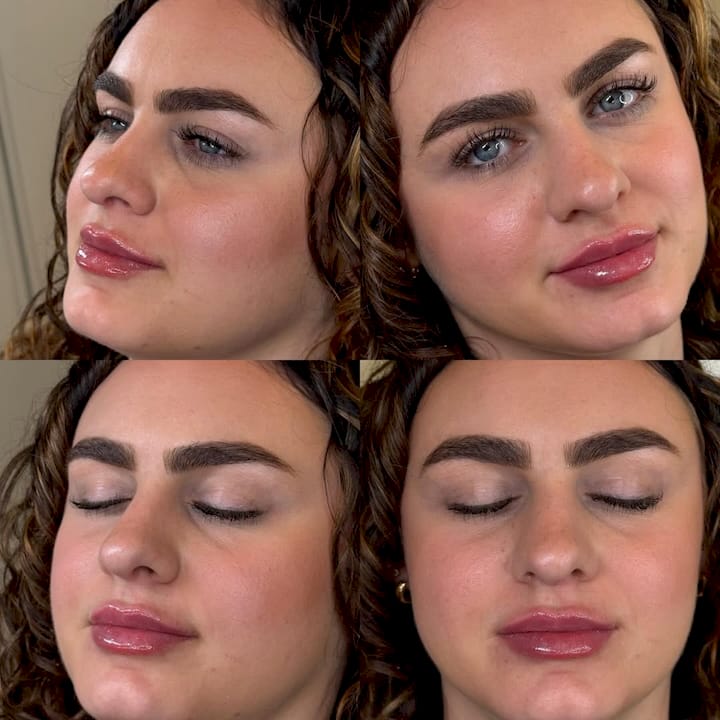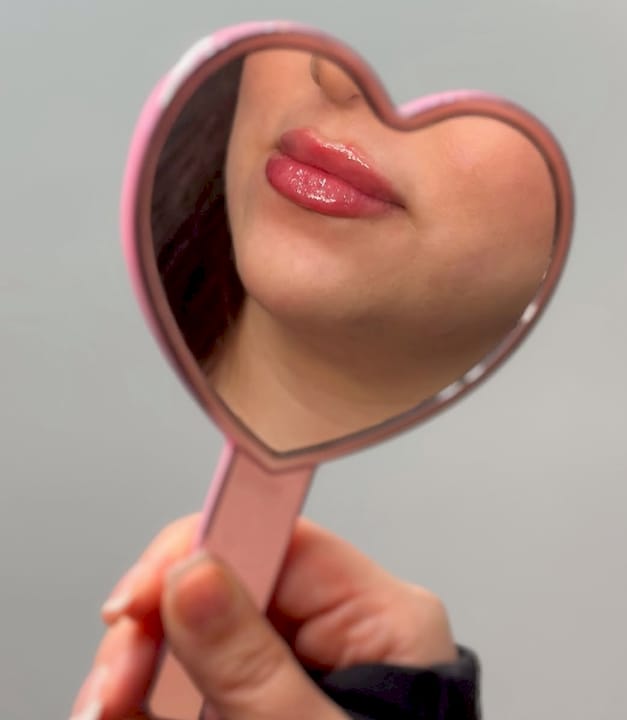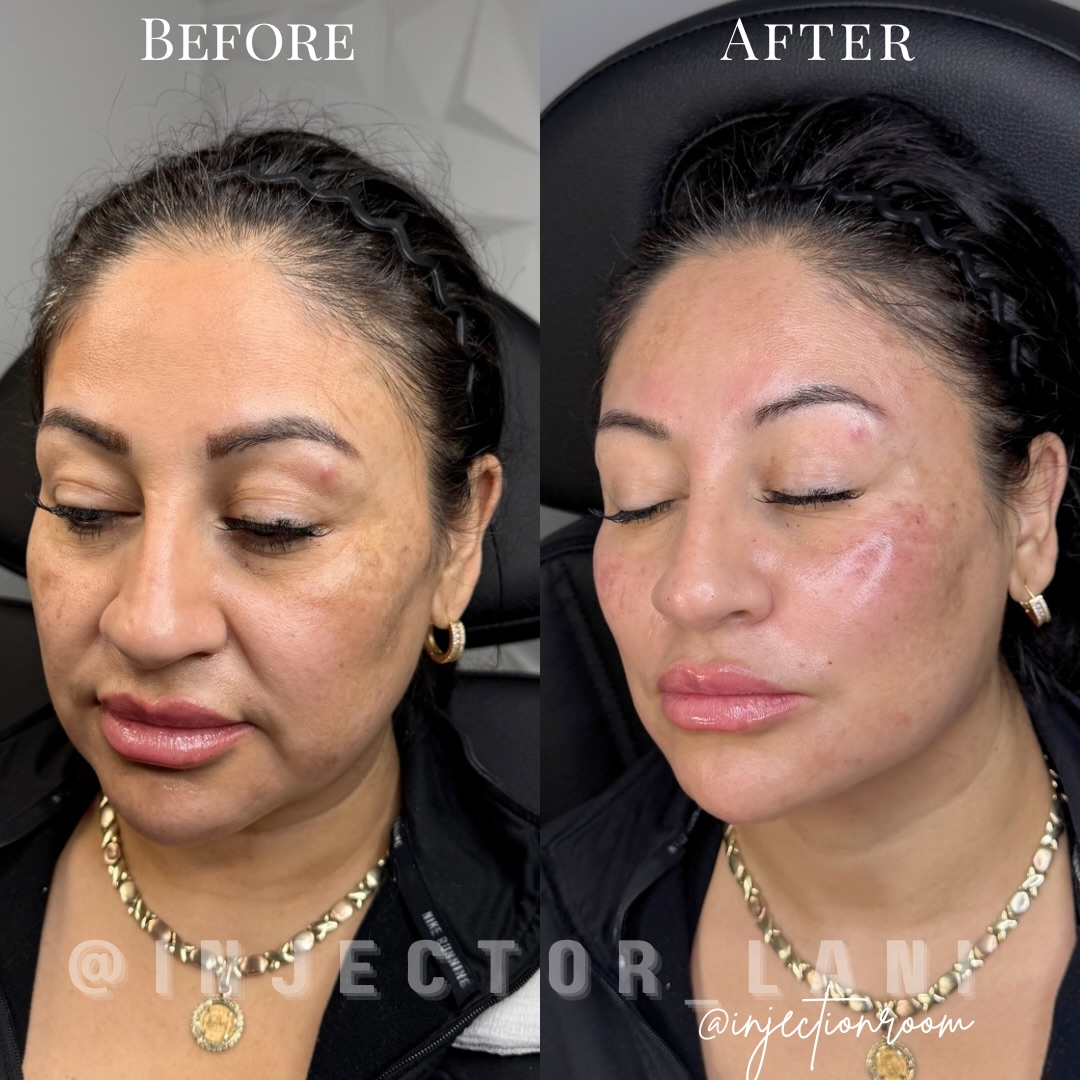
Swelling after dermal fillers can leave anyone feeling anxious about recovery and results. Some think all you can do is wait it out, but that does not have to be true. Preparation starts long before the first injection and can reduce swelling by following steps like proper cleansing 24 hours before your appointment. What might surprise you most is that small, strategic choices both before and after treatment make a bigger difference than any cream or serum ever could.
Table of Contents
- Step 1: Prepare Your Skin Before Treatment
- Step 2: Apply Cold Compresses to Affected Areas
- Step 3: Elevate Your Head While Sleeping
- Step 4: Stay Hydrated to Promote Healing
- Step 5: Avoid Strenuous Activities and Heat Exposure
- Step 6: Monitor and Assess Swelling Progress
Quick Summary
| Key Point | Explanation |
|---|---|
| 1. Prepare skin 24 hours before treatment | Cleanse your face to remove impurities and bacteria, avoiding harsh products to maintain skin integrity. |
| 2. Use cold compresses post-treatment | Apply cold compresses for 5 to 10 minutes to reduce swelling and promote healing every hour during the first 48 hours. |
| 3. Elevate your head while sleeping | Use a wedge pillow for 30 to 45 degrees elevation for the first 2-3 nights to prevent swelling accumulation. |
| 4. Stay hydrated for optimal recovery | Aim for 8 to 10 glasses of water daily and include hydration-rich foods to support healing and reduce swelling. |
| 5. Avoid strenuous activities and heat | Refrain from intense workouts, saunas, and direct sunlight for 48 hours to protect filler placement and minimize swelling. |
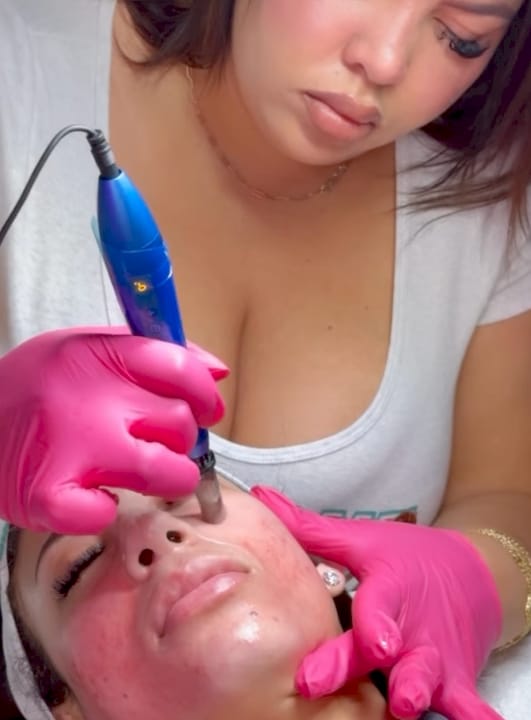
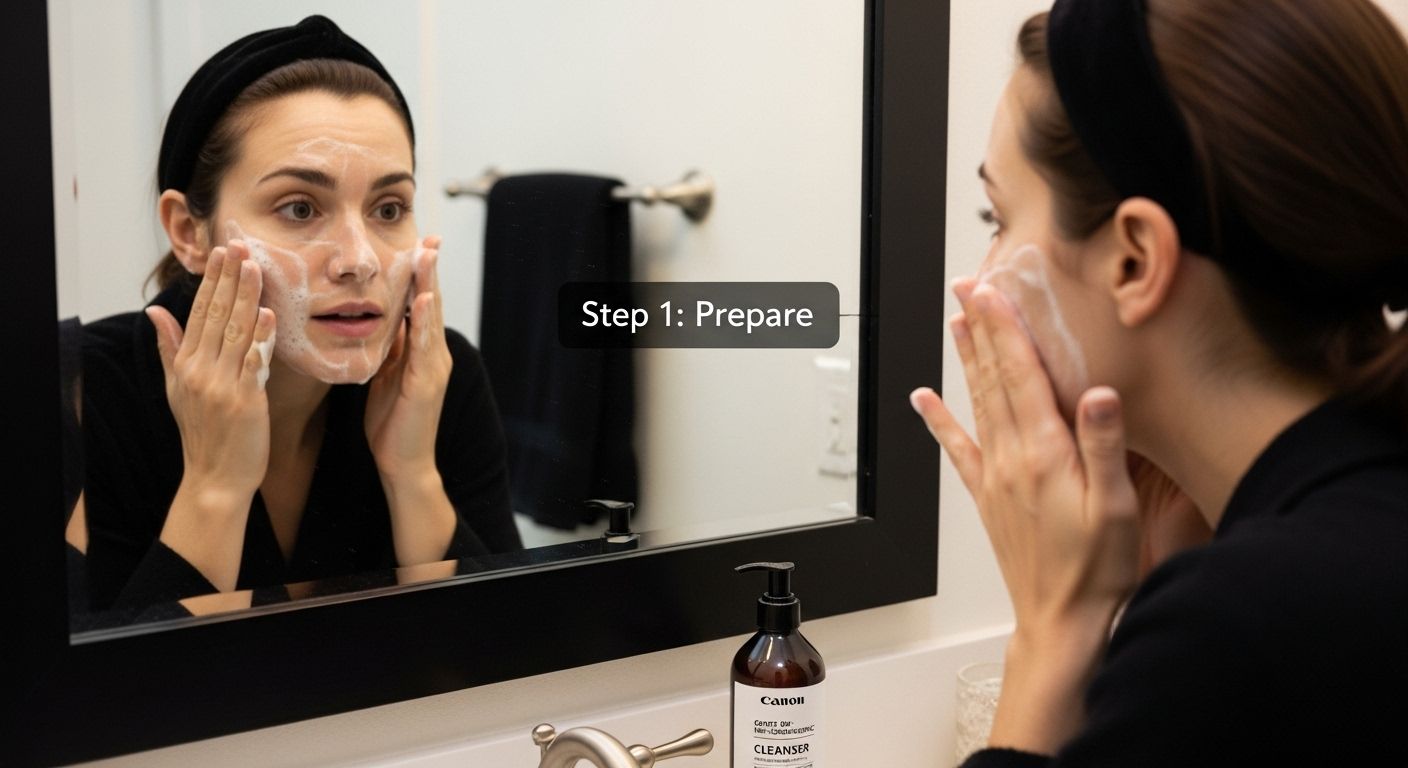
Step 1: Prepare Your Skin Before Treatment
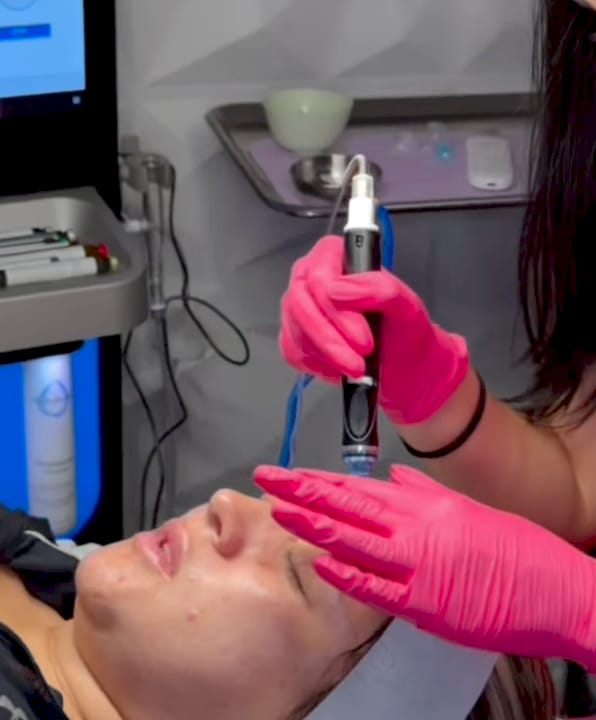
Reducing swelling after dermal fillers begins well before your actual treatment. Proper skin preparation can significantly minimize post procedure inflammation and enhance overall healing. Your preparation process is crucial in creating an optimal environment for filler application and recovery.
Proper preparation involves several strategic steps that create an ideal canvas for your aesthetic treatment. Start by thoroughly cleansing your face 24 hours before your appointment. This means removing all makeup, dirt, and potential bacteria that could increase infection risks. Use a gentle, non comedogenic cleanser that won’t irritate your skin or disrupt its natural protective barrier. Avoid harsh exfoliants or scrubs during this time, as they can create micro abrasions that might compromise your skin’s integrity.
Learn more about facial care techniques that can help prepare your skin for aesthetic treatments. If you have any active skin conditions like acne, cold sores, or open wounds near the injection sites, inform your provider immediately. These conditions can potentially complicate the filler procedure and increase swelling risks.
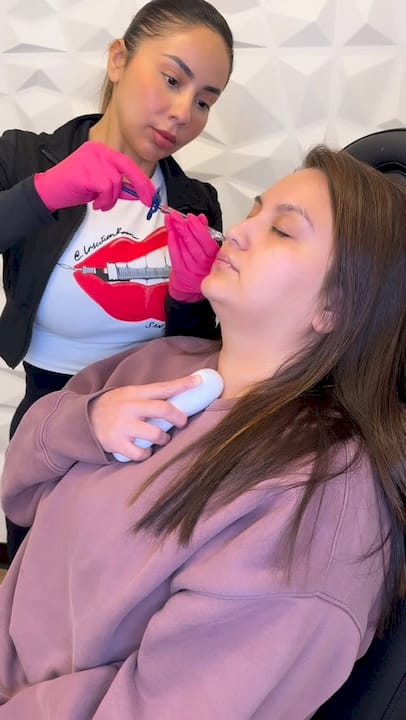
On the day of your treatment, arrive with clean skin and avoid applying any skincare products, makeup, or cosmetics. Your medical professional will perform a comprehensive skin assessment and cleanse the treatment area using professional grade antiseptic solutions. Patients with a history of oral herpes might receive recommendations for preventative antiviral medications to minimize potential viral reactivation during the procedure.
Key preparation recommendations include:
- Hydrate well in the 48 hours before your appointment
- Avoid blood thinning medications and supplements like aspirin, fish oil, and vitamin E
- Stay away from alcohol for at least 24 hours prior to treatment
- Get adequate rest the night before your procedure
By following these preparation guidelines, you create an optimal foundation for your filler treatment, setting the stage for minimal swelling and maximum aesthetic results.
Here is a summary checklist of key pre-appointment preparation steps and their purposes to help reduce swelling after fillers:
| Preparation Step | Purpose |
|---|---|
| Hydrate well before appointment | Supports optimal healing and helps reduce inflammation |
| Avoid blood thinning medications and supplements | Minimizes the risk of bruising and excessive swelling |
| Avoid alcohol for 24 hours | Prevents dehydration and excess swelling |
| Get adequate rest the night before | Supports the body’s healing process |
| Cleanse face 24 hours prior | Removes impurities to reduce infection and swelling risks |
| Avoid harsh exfoliants and scrubs | Protects skin barrier and prevents added irritation |
| Inform provider of skin conditions | Ensures safe procedure and tailored medical advice |
Step 2: Apply Cold Compresses to Affected Areas
Cold compresses are your first line of defense against post filler swelling, providing immediate relief and reducing inflammation. This strategic approach helps minimize discomfort and supports faster healing by constricting blood vessels and reducing fluid accumulation in treated areas.
Begin by selecting the right cold compress. Professional medical grade gel packs work best, but you can also use clean washcloths soaked in ice water or specialized medical cooling packs. Avoid direct ice contact with your skin, as this can cause damage. Instead, wrap your cold compress in a thin towel or clean cloth to create a protective barrier that prevents potential skin irritation.
Explore advanced skin recovery techniques that complement your post treatment care. Apply the cold compress gently to the treated areas, using light pressure and maintaining contact for 5 to 10 minutes per hour during the first 24 to 48 hours after your procedure. Be mindful of your comfort level and remove the compress if you experience excessive coldness or discomfort.
Specific application techniques can enhance the effectiveness of your cold compress treatment. Hold the compress perpendicular to the treated area, allowing even distribution of cooling. Move the compress slowly and systematically across injection sites, ensuring you do not apply excessive pressure that might disrupt the filler placement. For facial treatments, start from the center and move outwards in gentle, sweeping motions.
Important cold compress guidelines include:
- Use clean, soft materials for your compress
- Keep compress sessions between 5 to 10 minutes
- Allow skin to return to normal temperature between compress applications
- Stop immediately if you experience pain or unusual skin reactions
By following these precise cold compress techniques, you can significantly reduce post treatment swelling and support your skin’s natural healing process. Remember that individual responses may vary, so always consult your medical professional if you have specific concerns about your recovery.
Step 3: Elevate Your Head While Sleeping
Elevating your head while sleeping is a critical yet often overlooked strategy for reducing post filler swelling. This simple technique leverages gravity to minimize fluid accumulation and promote faster healing by preventing blood and lymphatic fluid from pooling in treated areas. Think of it as a passive recovery method that works while you rest.
Proper head elevation requires more than just stacking a few pillows. Invest in a wedge pillow or create a strategic sleeping setup that keeps your head elevated at a 30 to 45 degree angle. Standard pillows can create awkward neck angles that might actually increase swelling, so consider specialized medical pillows designed for post procedure recovery. If you do not have a wedge pillow, carefully arrange multiple standard pillows to create a gentle, consistent incline that supports your head and neck comfortably.
Discover advanced recovery techniques that complement your healing process. Your sleeping position impacts recovery more than you might realize. Avoid sleeping on the side of your face where fillers were injected, as direct pressure can potentially disrupt filler placement and increase swelling. If you are typically a side sleeper, consider using additional pillows to prevent unconscious movement during the night.
Creating an optimal sleeping environment extends beyond pillow placement. Choose breathable, clean pillowcases made from natural fabrics like cotton that won’t irritate your healing skin. Keep your bedroom cool and use a humidifier if the air is dry, as this can help prevent skin dehydration during the recovery period.
Key recommendations for nighttime head elevation include:
- Use a wedge pillow or create a consistent 30-45 degree incline
- Avoid direct pressure on treated areas
- Keep your head elevated for the first 2-3 nights post procedure
- Use clean, soft pillowcases
By implementing these strategic sleeping techniques, you support your body’s natural healing process and minimize post filler swelling. Remember that individual recovery experiences can vary, so always follow your medical professional’s specific guidance.
Step 4: Stay Hydrated to Promote Healing
Hydration plays a pivotal role in reducing swelling and supporting your body’s healing process after dermal filler treatments. Water is not just a beverage, but a critical recovery tool that helps your body process and integrate the filler while minimizing inflammation and promoting optimal skin recovery.
Immediate post treatment hydration requires a strategic approach. Aim to drink approximately 8 to 10 glasses of water daily in the first 48 to 72 hours after your procedure. This isn’t about drinking water in large quantities all at once, but maintaining consistent fluid intake throughout the day. Room temperature water is preferable, as extremely cold or hot beverages can potentially increase inflammation or discomfort in sensitive tissues.
Learn more about holistic skin recovery and how hydration supports aesthetic treatments. Your hydration strategy should extend beyond plain water. Consider incorporating hydrating foods like cucumber, watermelon, and leafy greens that have high water content and provide additional nutrients supporting skin healing. Herbal teas without caffeine can also contribute to your daily fluid intake while offering additional anti inflammatory benefits.
Avoid beverages that can counteract your hydration efforts. Alcohol, caffeine, and sugary drinks can dehydrate your body and potentially increase post procedure swelling. If you struggle with drinking plain water, try infusing it with fresh fruits like lemon or cucumber to make hydration more appealing. Electrolyte enhanced waters can also provide additional mineral support during your recovery process.
Key hydration guidelines include:
- Drink consistently throughout the day
- Target 8 to 10 glasses of water daily
- Choose room temperature beverages
- Incorporate water rich foods
- Minimize alcohol and caffeine consumption
By maintaining proper hydration, you support your body’s natural healing mechanisms, reduce potential swelling, and create an optimal environment for your dermal filler results to emerge beautifully and smoothly.

Step 5: Avoid Strenuous Activities and Heat Exposure
Reducing swelling after dermal fillers requires carefully managing your physical activity and environmental exposure. Heat and intense movement can significantly disrupt your body’s healing process, potentially causing increased inflammation, migration of filler material, and prolonged recovery time. Understanding how to modify your routine is crucial for optimal results.
In the first 48 hours following your treatment, consider your body as delicate healing machinery that needs gentle handling. Completely pause high intensity workouts, including weightlifting, running, cycling, and high impact fitness classes. Even yoga and Pilates can create sufficient facial movement and blood flow that might compromise your filler placement. Light walking is acceptable, but avoid anything that elevates your heart rate dramatically or causes facial muscle tension.
Explore advanced recovery techniques that support your aesthetic treatment healing process. Heat exposure represents another critical factor in your recovery. Avoid saunas, steam rooms, hot yoga studios, and direct sunlight that could cause excessive facial heating. Extreme temperatures can cause blood vessel dilation, potentially increasing swelling and bruising. This means postponing outdoor activities in direct sunlight and avoiding hot showers or baths during your initial recovery period.
Environmental management extends beyond physical activity. Be mindful of scenarios that might inadvertently increase facial temperature or blood flow. This includes avoiding facial massages, heated skincare tools, and environments with significant temperature fluctuations. If you work in a physically demanding job or have commitments requiring intense movement, consider scheduling your filler treatment during a period when you can minimize such activities.
Key activity and heat exposure guidelines include:
- Avoid high intensity workouts for 48 hours
- Skip saunas and steam rooms
- Minimize direct sunlight exposure
- Use lukewarm water for bathing
- Postpone facial massages
By implementing these precautions, you create an optimal healing environment that supports your body’s natural recovery process and helps maintain the precise placement of your dermal fillers.
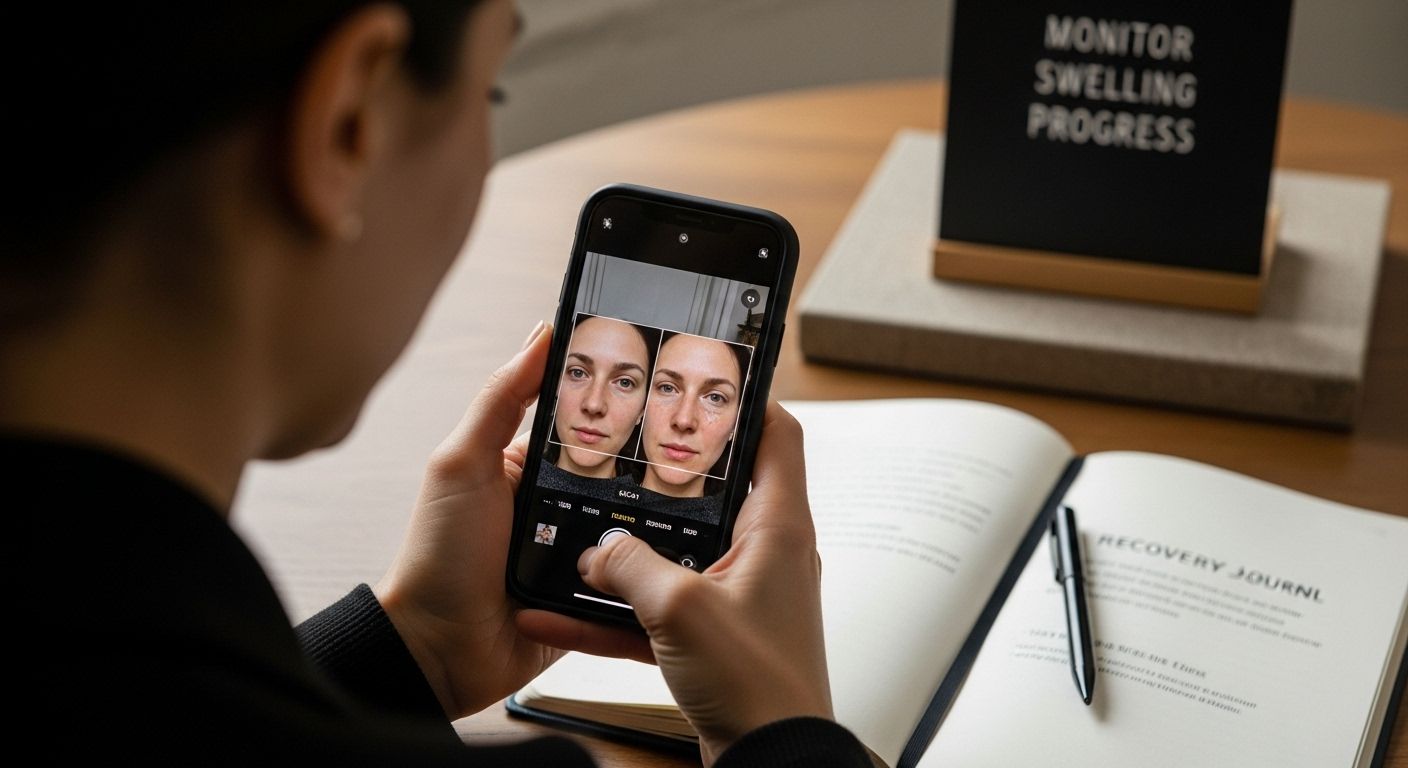
Step 6: Monitor and Assess Swelling Progress
Tracking your body’s healing response after dermal fillers is crucial for understanding your recovery and identifying any potential complications early. Swelling is not a uniform experience and can vary dramatically based on individual physiology, injection sites, and treatment specifics. Developing a systematic approach to monitoring your healing process empowers you to distinguish between normal recovery and situations requiring professional intervention.
Begin by documenting your swelling progression through strategic photography. Take clear, well lit photographs of the treated areas immediately after your procedure and then at consistent intervals over the next 72 hours. Use natural lighting and maintain the same angle and distance for each shot. This visual documentation creates a precise timeline of your healing, allowing you to objectively assess changes that might be difficult to perceive day to day.
Explore advanced skin recovery techniques that can support your post treatment monitoring. Creating a detailed recovery journal helps track not just visual changes but also your body’s response. Note specific details like swelling intensity, duration, symmetry, and any accompanying sensations. Pay close attention to whether swelling appears uniform or if certain areas seem disproportionately affected.
Critical warning signs that warrant immediate medical consultation include sudden asymmetrical swelling, intense pain, significant discoloration, or signs of infection like fever or extreme redness. Most post filler swelling should gradually decrease over 48 to 72 hours. If swelling intensifies or fails to subside after this period, contact your medical professional promptly. Temperature changes, pressing gently on swollen areas, and comparing sides can help you assess your healing progress.
Key monitoring recommendations include:
- Photograph treated areas at consistent intervals
- Document swelling characteristics in a recovery journal
- Track swelling duration and symmetry
- Note any unusual sensations or changes
- Compare healing progress against initial expectations
By implementing a systematic monitoring approach, you transform your recovery from a passive experience into an informed, proactive journey of healing and aesthetic enhancement.
This troubleshooting table can help you identify common swelling scenarios after fillers, their possible causes, and the recommended actions to take:
| Swelling Scenario | Possible Cause | Recommended Action |
|---|---|---|
| Gradual reduction in swelling | Normal response to treatment | Continue standard aftercare |
| Swelling worsens or persists past 72 hours | Prolonged inflammation or irritation | Contact your medical professional |
| Sudden asymmetrical swelling | Potential filler displacement or reaction | Seek immediate medical attention |
| Significant discoloration (e.g. dark purple/blue) | Possible bruising or blood vessel involvement | Monitor closely, consult if worsening |
| Intense pain or extreme redness | Potential infection or vascular issue | Contact your provider immediately |
| Mild swelling with minor tenderness | Typical post-procedure effect | Use cold compresses and monitor |
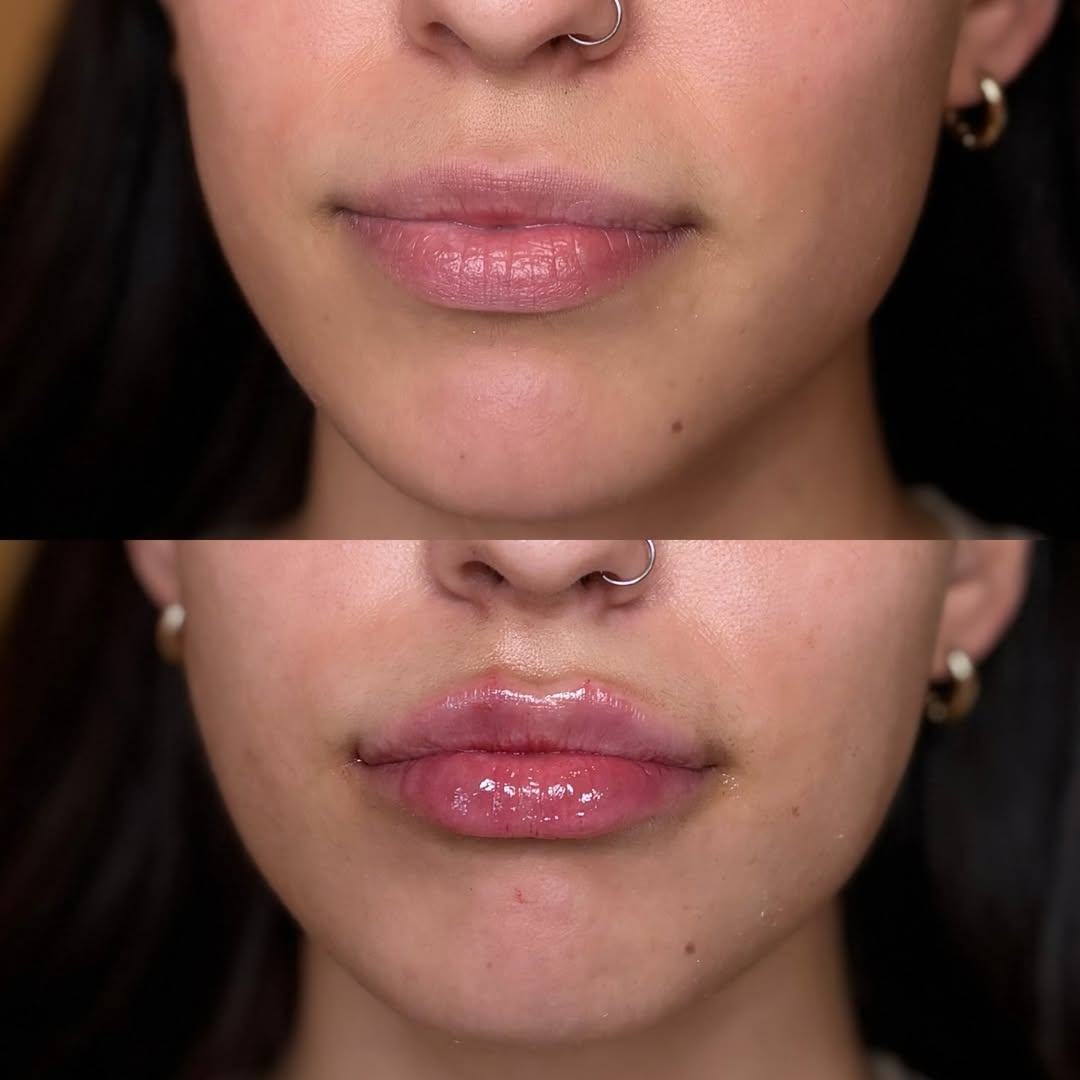
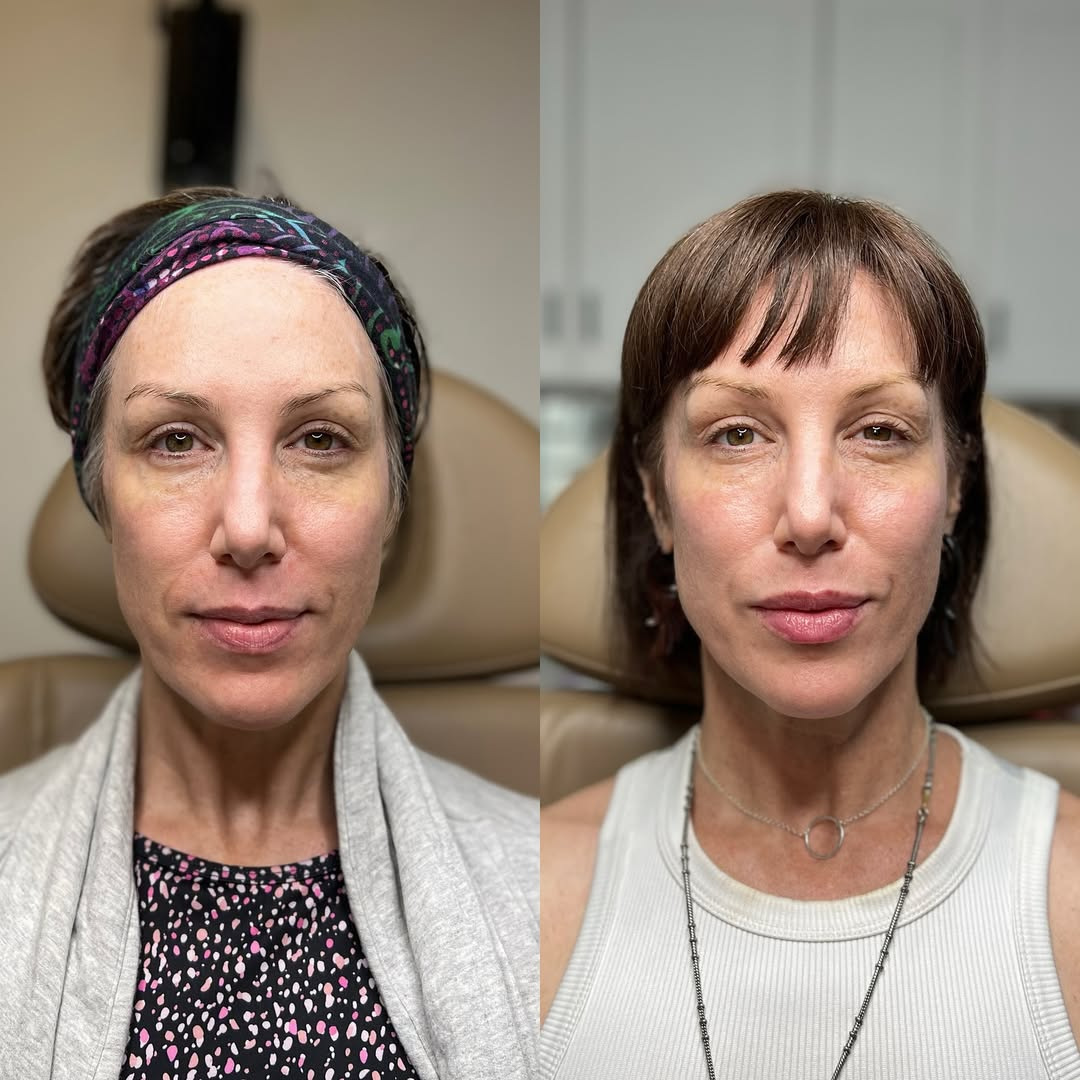
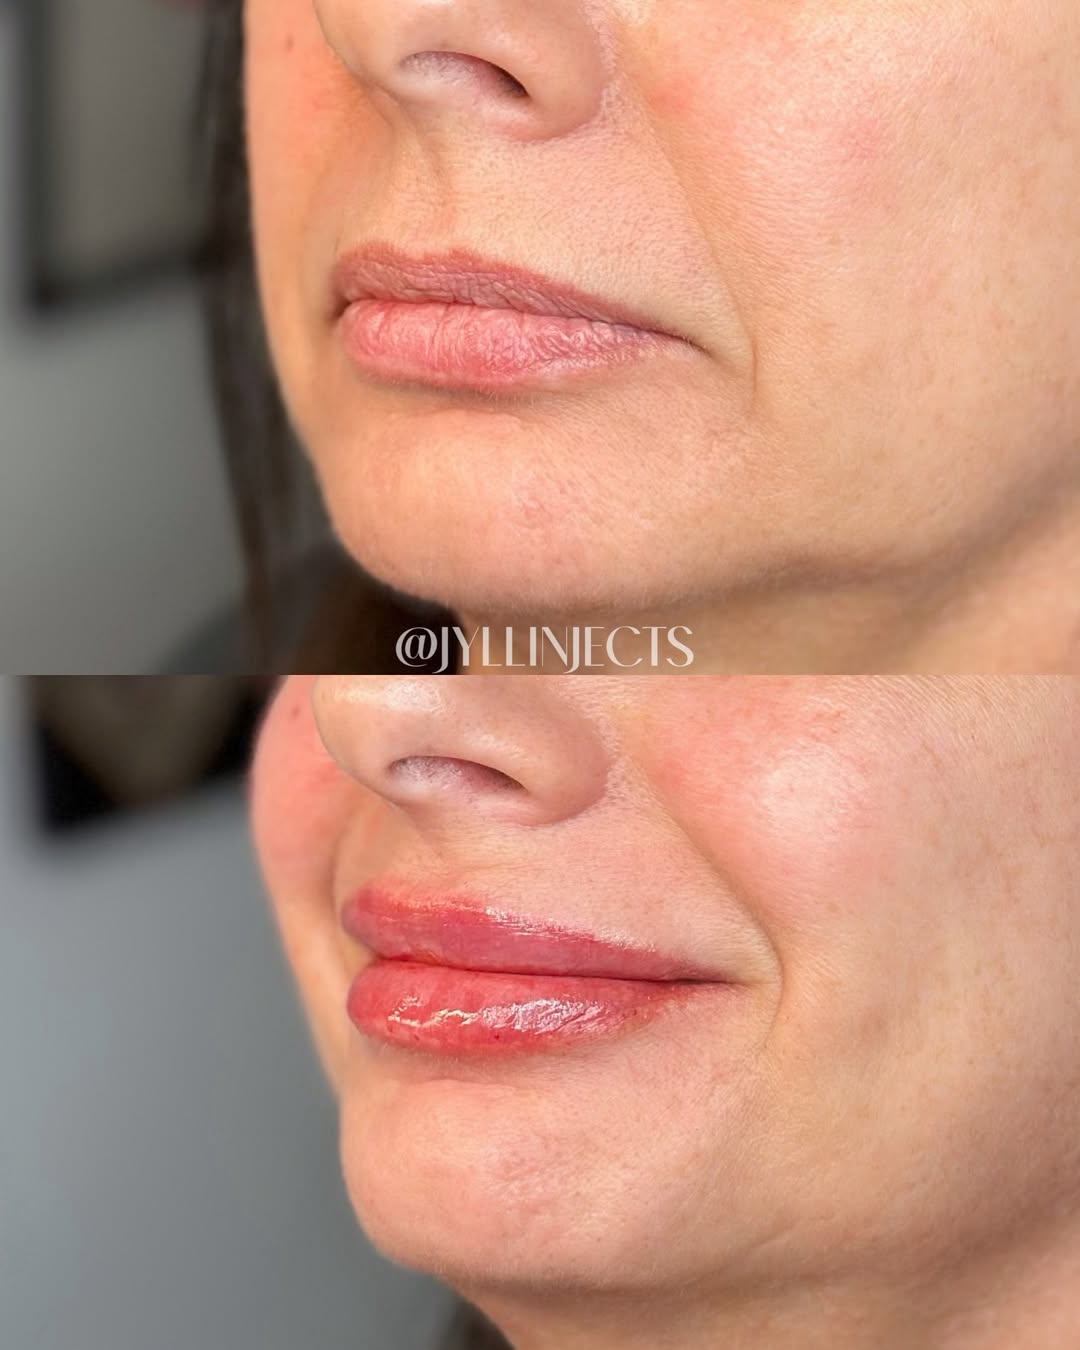
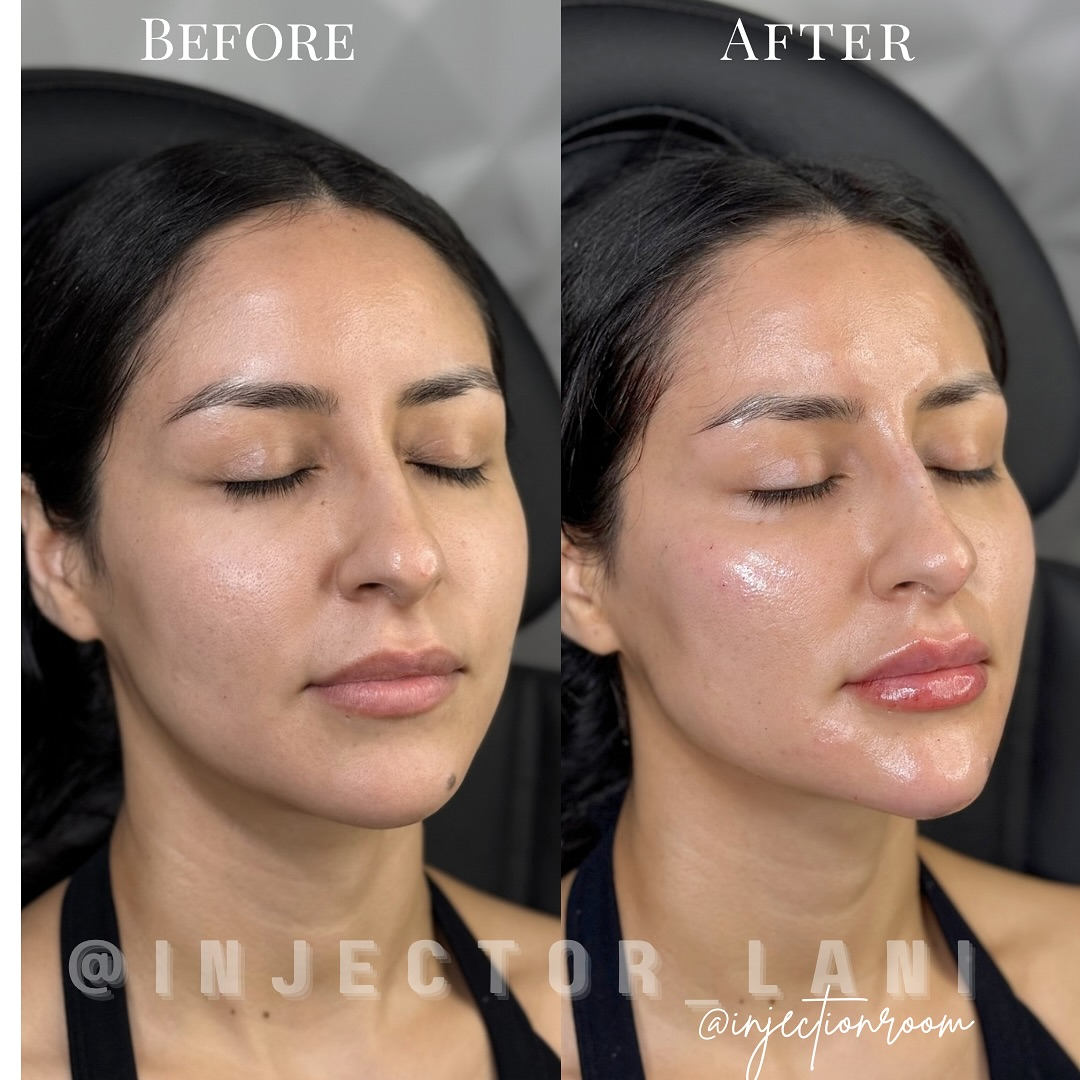
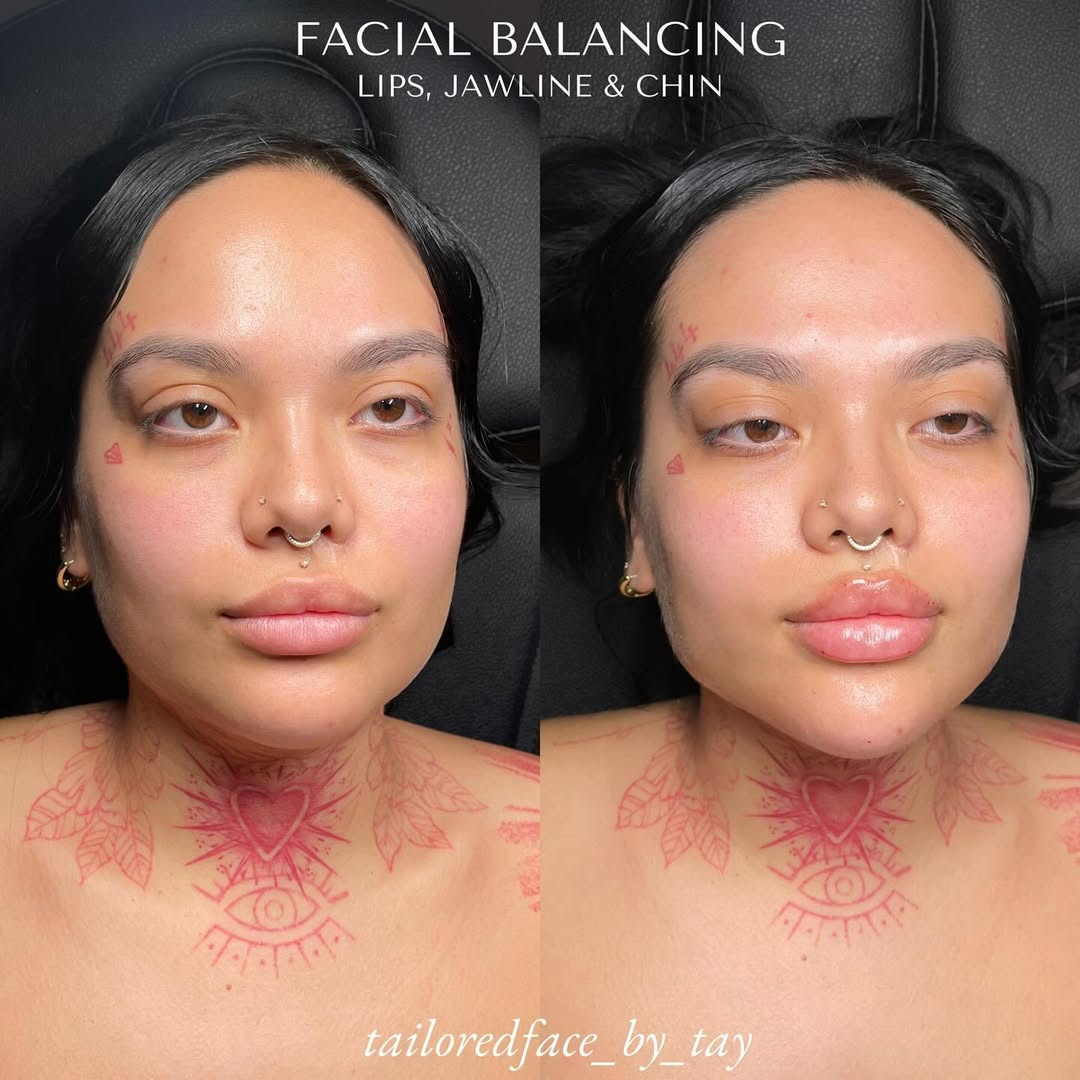
Experience Smoother Results and Lasting Confidence After Fillers
Struggling with post-filler swelling can be stressful. You want a fast, comfortable recovery and the best possible results for your skin. Our article shares step-by-step strategies like cold compress therapy, head elevation, and proper hydration, but professional guidance can take your healing and results even further. Discover our expert-driven skincare solutions at The Injection Room, designed to support every phase of your post-treatment experience.

Take charge of your recovery with personalized care from experienced specialists you can trust. Visit The Injection Room for advanced dermal filler treatments, innovative aftercare, and holistic support tailored to your needs. Explore our full service offerings and begin your journey to flawless, confident skin today.
Frequently Asked Questions
How can I prepare my skin before getting fillers to reduce swelling?
Proper preparation includes thoroughly cleansing your face 24 hours before your appointment and avoiding harsh exfoliants. Hydrate well, avoid blood thinning medications, and ensure you have adequate rest to create an optimal environment for healing.
What is the best way to use a cold compress after filler injections?
Apply a cold compress gently to the treated areas for 5 to 10 minutes per hour during the first 24 to 48 hours. Ensure to use a protective layer like a thin towel to prevent skin irritation, and be mindful of your comfort level.
How should I position my head while sleeping after getting fillers?
Elevate your head at a 30 to 45 degree angle while sleeping to minimize fluid accumulation. Use a wedge pillow or multiple standard pillows to maintain this position for the first 2-3 nights, avoiding direct pressure on the treated areas.
How important is hydration in reducing swelling after fillers?
Staying hydrated is crucial as it supports your body’s healing process. Aim to drink 8 to 10 glasses of water daily, especially in the first 48 to 72 hours, and consider incorporating water-rich foods into your diet to aid in recovery.